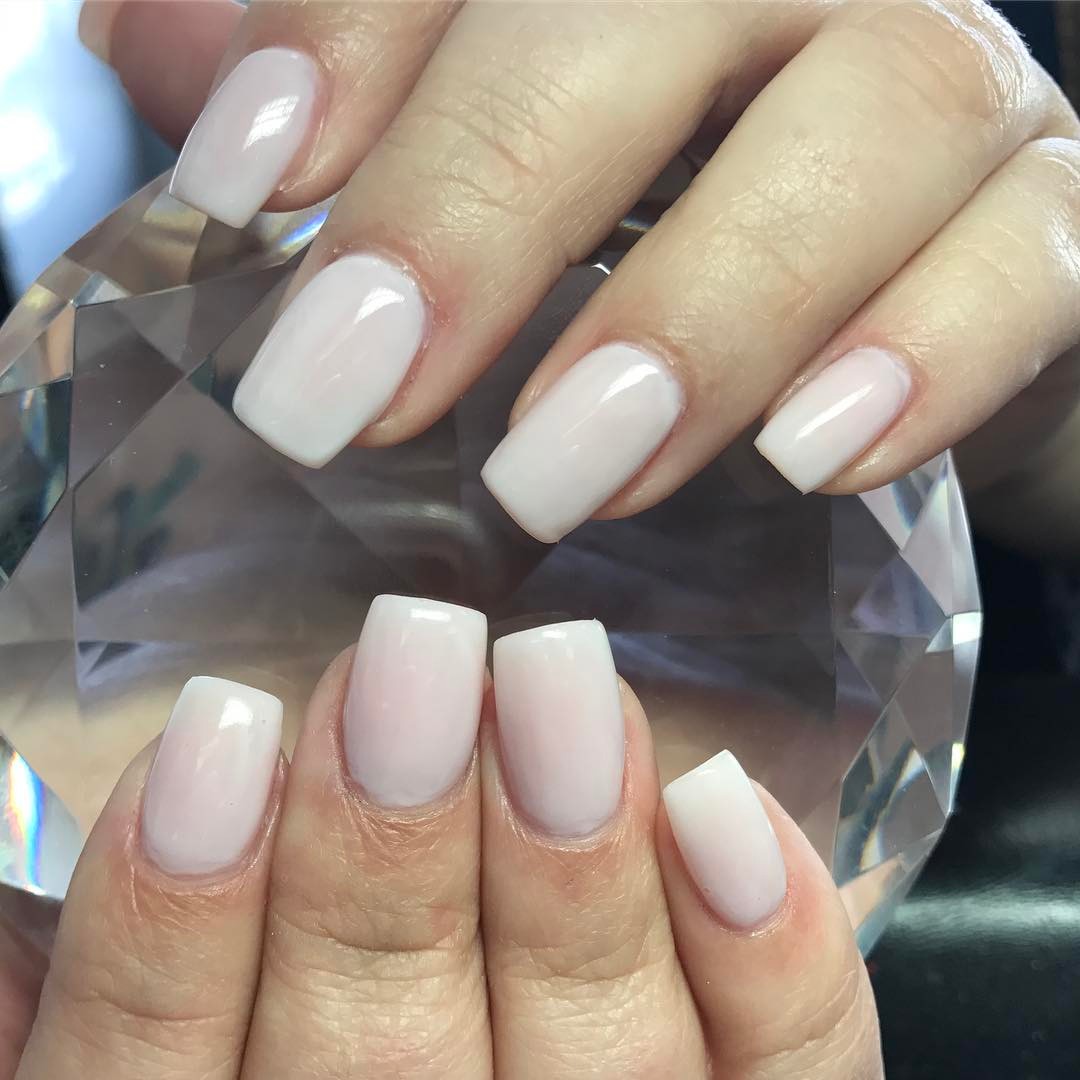
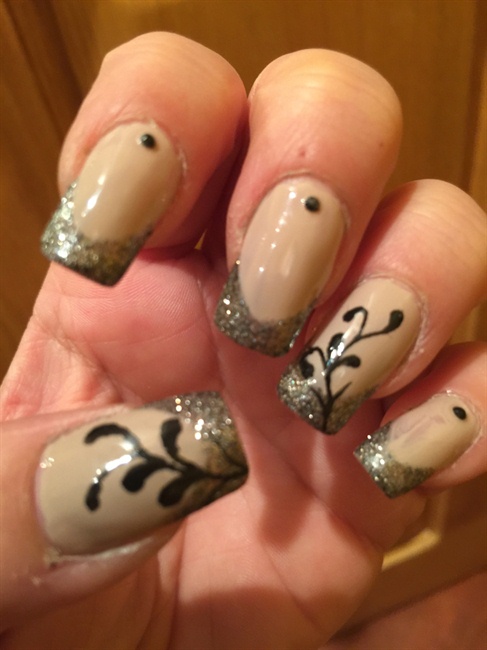
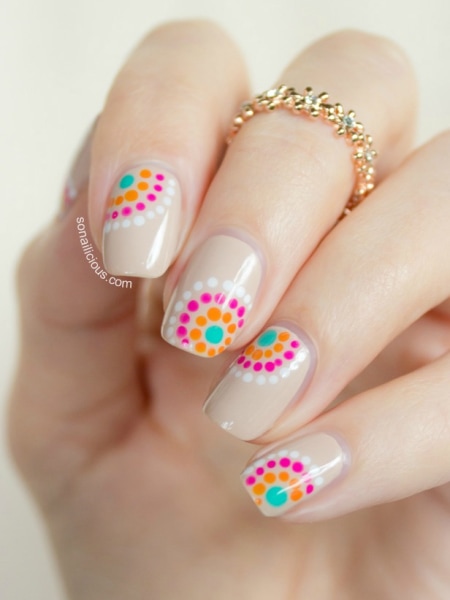
neutral nail art
neutral nail art, the most difficult part for those who have to use just one nail to remove the nail. This technique is not meant to be an exact formula: each step gives you the best results so they are applied carefully so that their application don't create any uneven spots.
What I recommend is to simply apply a thin layer of paper to each nail. This can take a few moments to set the size and shape of the nail but remember that on my models I had over 2 feet of nail art so I could easily take on the larger nails on my desk. In order to increase the size of the nail we needed to apply a large number of layers of paper on the nail. This step is not done as quickly as some experts recommend it but it should allow you to continue to work on the nail during the next 2 to 3 hours.
It might even help if you use a simple pencil. We want a high quality pencil to easily be used in both hands. Some of my models can't be drawn because they look so dull. However we use a lot of good solid white paper so I only used two and I always knew where the left corner was and it took some practice. Some people even say that after using one of the four pencils I should have used two, but it really is up to you. If you go from pencil to pencil it's easy to learn!
Now let's check some of the nail art skills and techniques for my models


Comments
Post a Comment