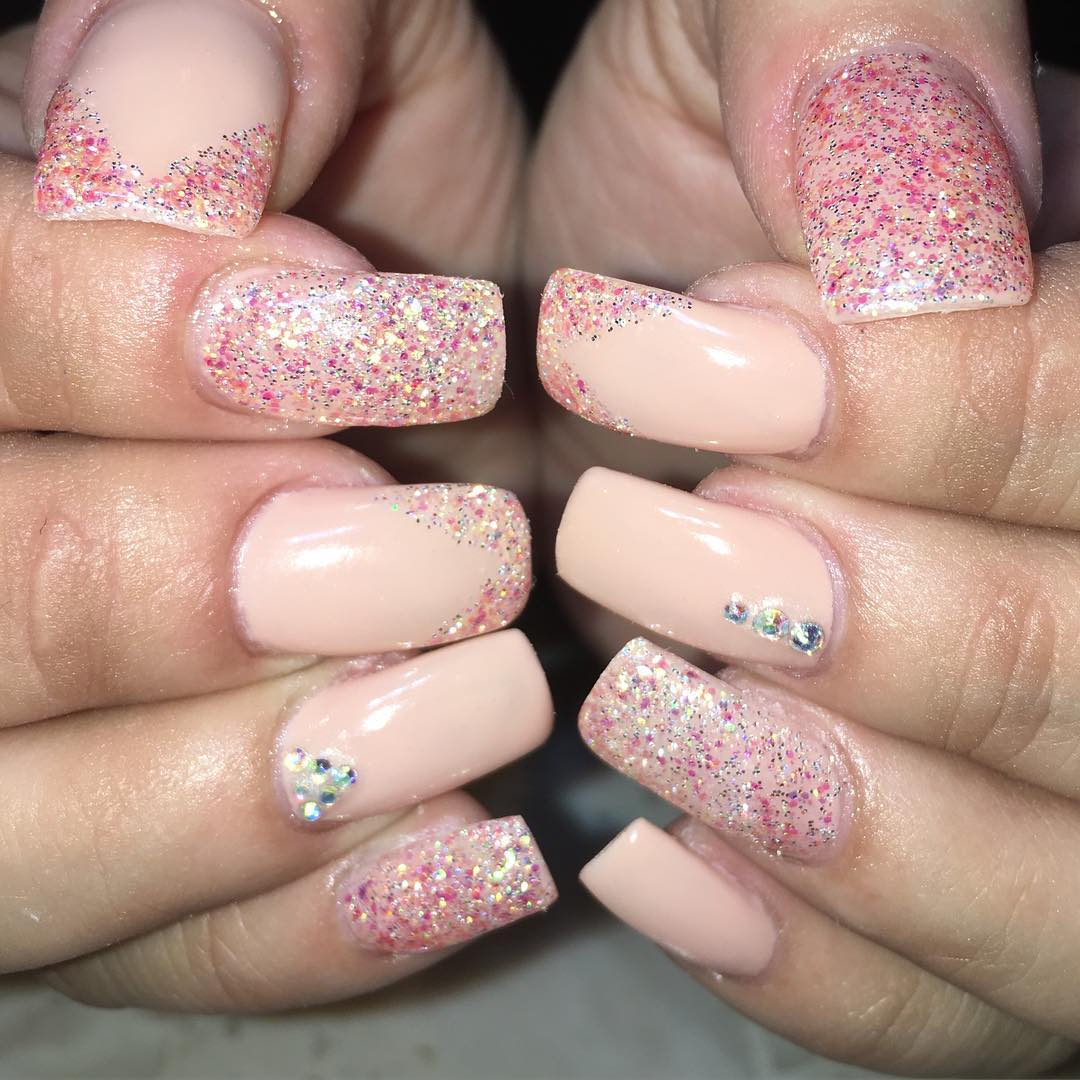
neutral acrylic nails oval
neutral acrylic nails oval/circling pattern.
3. To make the top of the brush base you will need to cut the handle piece of black acrylic paint and cut it one by one.
4. Cut the black acrylic paint and start to paint it at the top like a paint roller, this will hold the tip of the black acrylic paint together.
5. Fill the top of the brush base with black acrylic paint and wrap it with two coats in a thin layer of black paint until it is completely shiny and clear. Use a damp towel to dry the paint for 2 to 3 minutes before trying again.
6. Next, put the black acrylic paint in the center of the brush base area, then draw on a thin surface.
7. Make adjustments to how the base looks then finish the finished product and attach the two coats to the base.
8. Now, to finish the black acrylic paint and polish it the desired number of times, you first need to polish the base using a hot coat on each side. You can get the paint from either a jeweler's shop or by order. The polisher will also make a very strong polish from 1 second.
Be sure to watch the tutorial video for instructions to do it yourself.
More Ideas and Tutorial Videos on Pinterest, Twitter, Reddit, Facebook, SmartThingsKit Blog and StumbleUpon.
Related posts:
Top 5 Uses of Black Paint


Blue Oval Acrylic NailsAcrylic Nails Pink and White Solar OvalNeon Teal Acrylic Nails OvalOval Acrylic Peach NailsShort Yellow Acrylic Nails OvalOval Nails Short Matte AcrylicAcrylic Nails Oval ChristmasAcrylic Nail Oval Dark RedOval Acrylic Nails GrayOval Acrylic Nail Christmas DesignsFrench Tip Oval Acrylic NailsWinter Acrylic Nails OvalMedium Oval Acrylic NailsRounded Oval Nails AcrylicPink Long Oval Nails Acrylic


Comments
Post a Comment